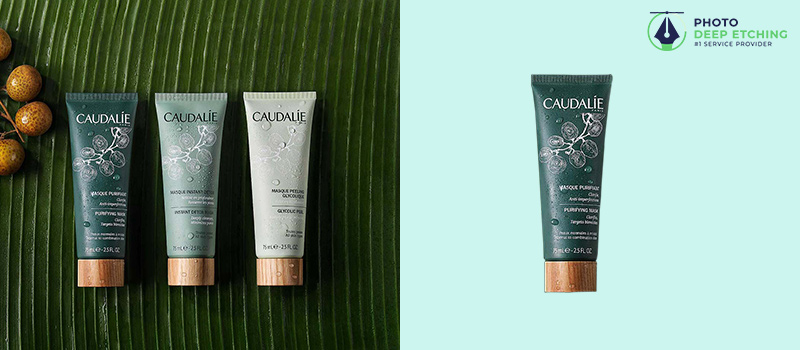
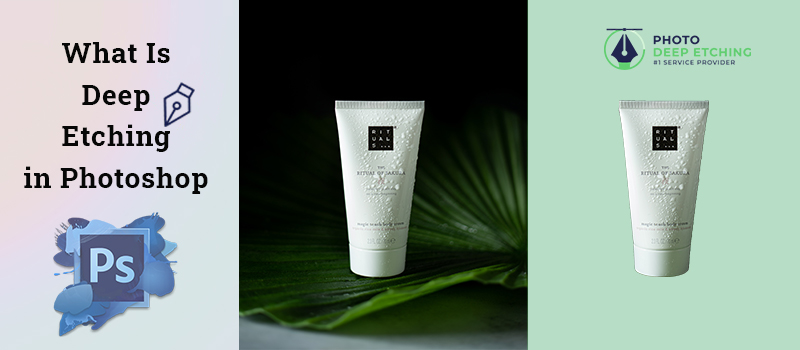
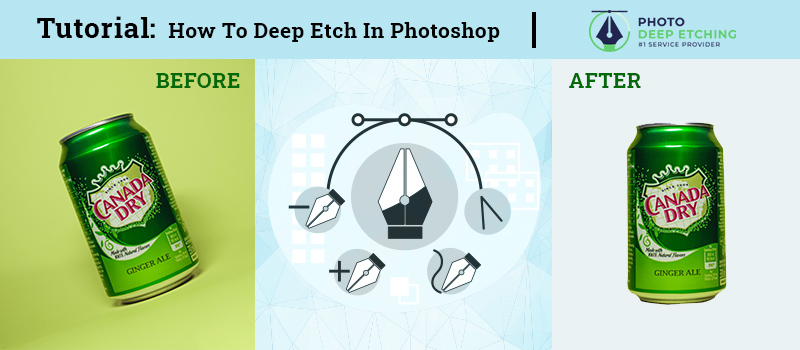
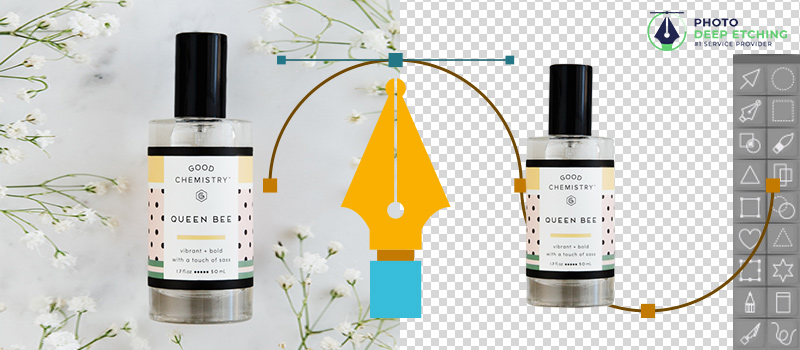
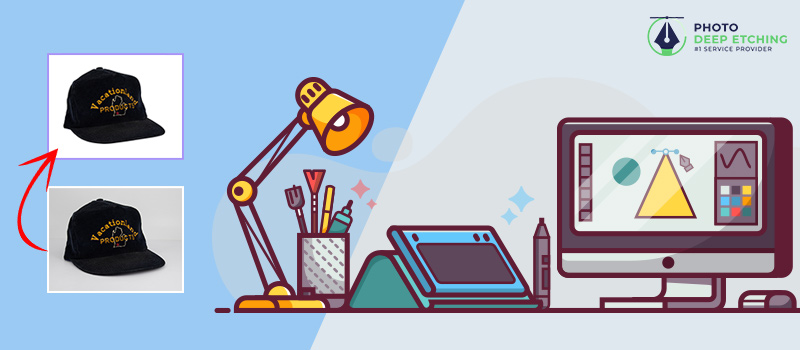
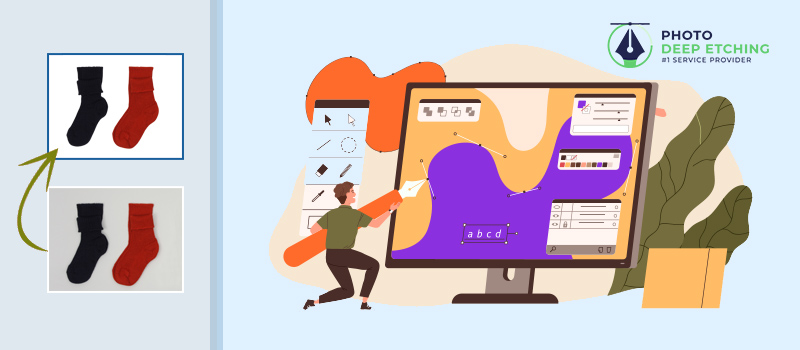
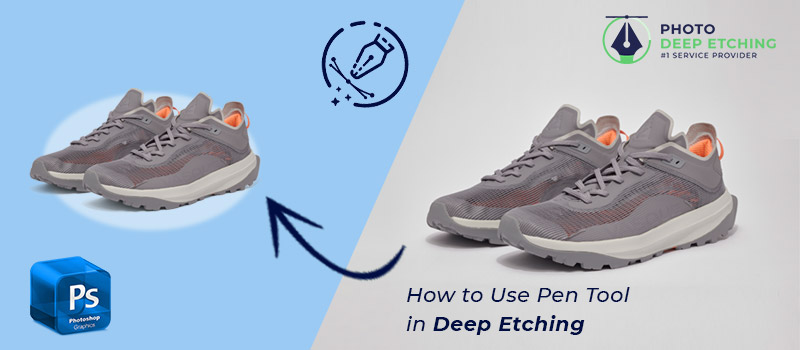
To bring focus towards a targeted object, we have to showcase the product on a suitable background without having any distractions. Deep etching is an effective method to do that. Though this is an essential method, still many people aren’t aware of “what is Deep Etching Technique”.
Through this article, we are going to explore deep etching in Photoshop. It will give a crystal clear concept of Photoshop deep etching. The Deep Etch Images is going to assist photographers and product sellers in representing product photography in a better way.
Table of Contents
What is Deep Etching Technique?
The deep etching technique is a photo editing process performed in Photoshop to isolate the object from its background. The pen tool is used for applying this image editing technique. This is the most accurate method to separate the background.
Why Deep Etching Is Required?
Deep etching is required when you want to showcase an object to catch viewers’ attention. It influences the viewers to focus on the object. When you represent a product on a busy background, viewers lose their attention due to unsuitable elements in the background. The deep etching service ensures the viewers won’t lose their attention due to an unsuitable background.
Who needs deep etching in Photoshop?
Mainly, the deep etching service is mandatory for Product photographers, professional photographers, and online sellers. Also, people who are involved with product photography and product advertising need the deep etching service.
Deep Etching Technique – Step By Step Explained
Step 1: Open Your Image To Apply Deep Etching Technique
First of all, you have to open your image in Photoshop on which you want to apply the deep etching technique. After that, you have to unlock the image layer by clicking on the lock icon.
Step 2: Select Pen Tool
We are going to pick the pen tool from the toolbar to select the object. You can pick the tool from this section.
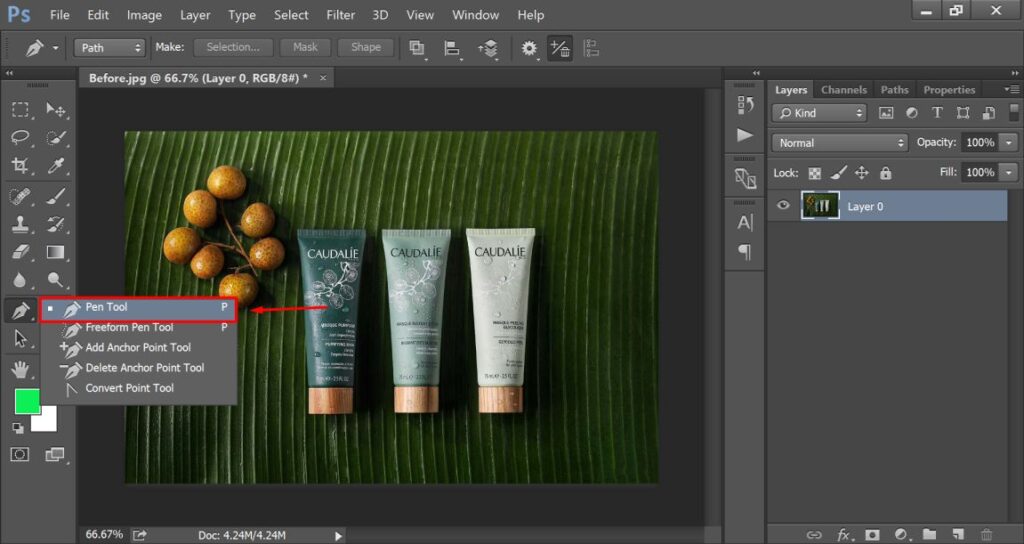
After that, you have to create a path around the object using the pen tool. You just need to press the left mouse key to create an anchor point.
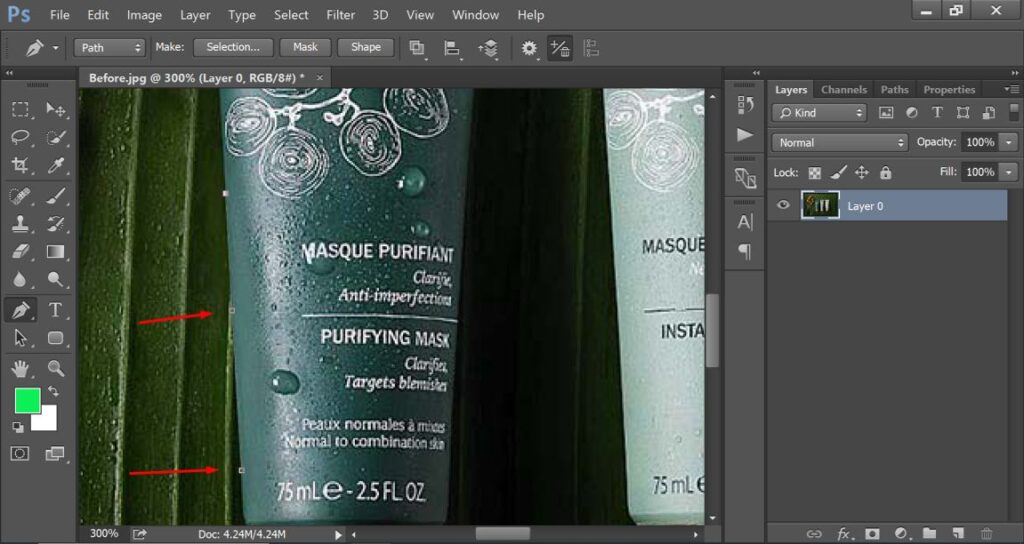
To get a curved line, you have to click and drag the mouse around to bend the line according to the requirements. You delete the direction point of the path using ALT + Left Click.
Also, you can change the path position using the CTRL Key. You have to cover the entire object using paths. Here’s the sample.
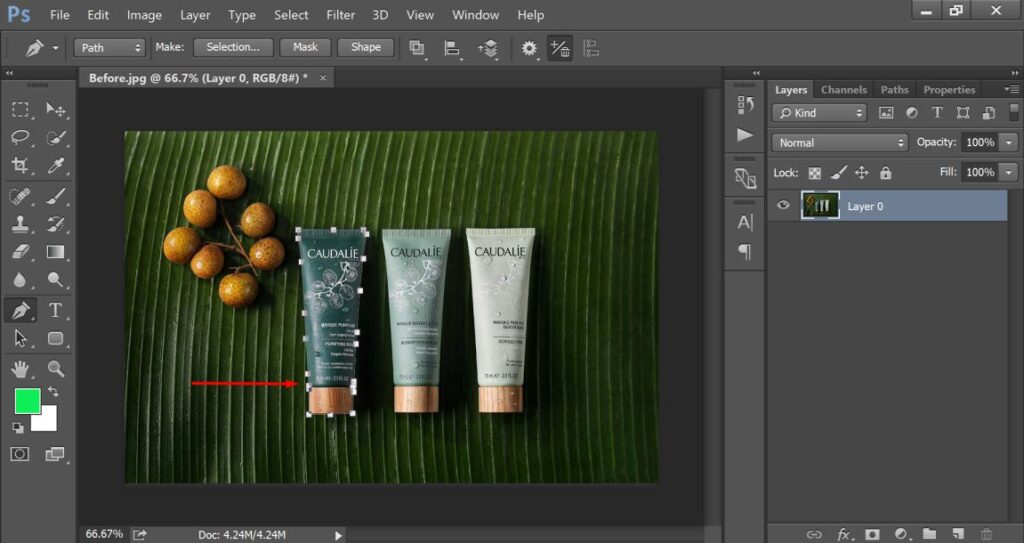
You need to bring your object in this form to perform the deep etching technique on your image.
Step 3: Isolate the Object From The Background With a selection
At this step, we need to separate the object from its previous background. We can do it by making a selection. You just need to right-click on the image and you will get the option for “Make Selection”
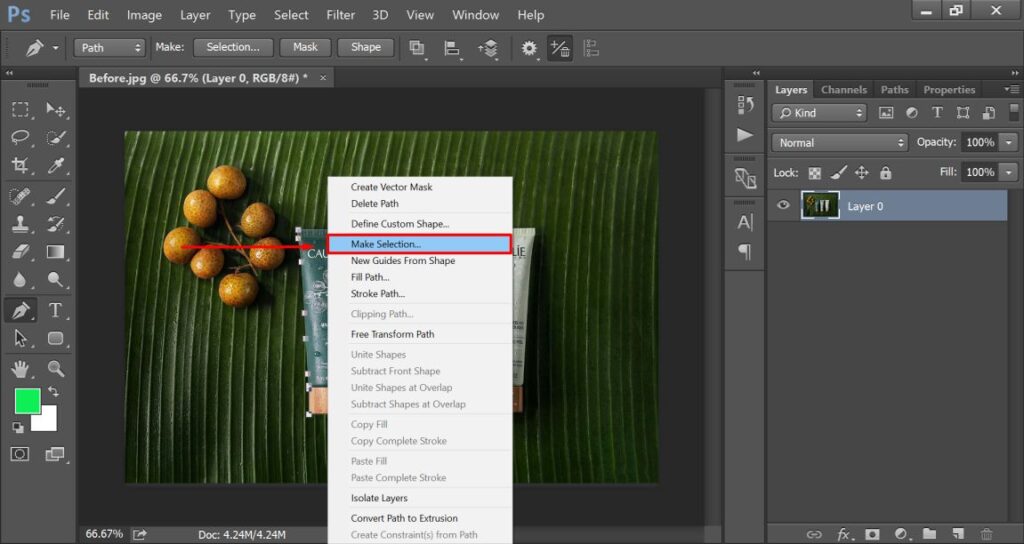
After that, the clipping path will be converted to a selection. At that point, you will get the object selected. But we have to select the background. To reverse the selection, you have to press “CTRL + SHIFT + I” or choose the “inverse selection” option from the top.
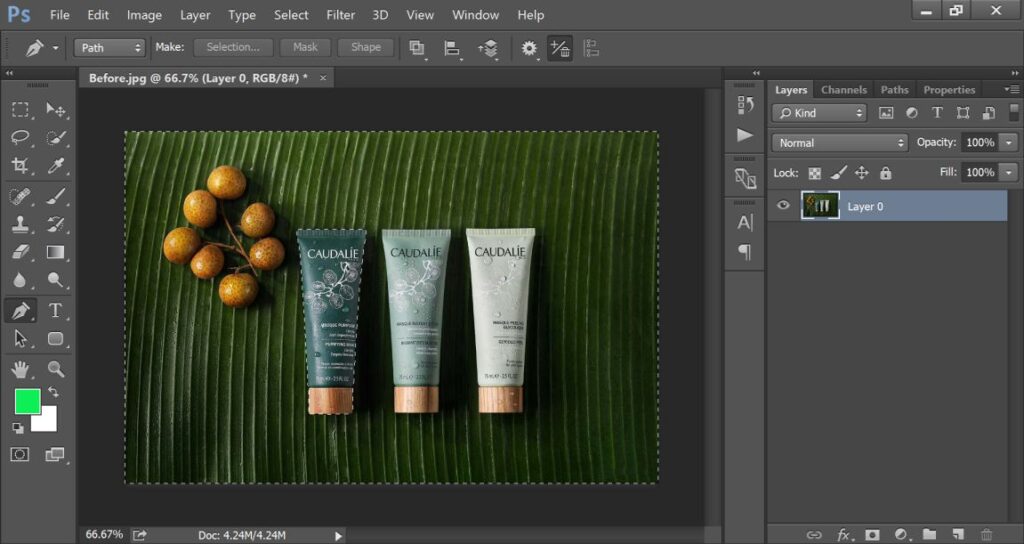
Now, the selection has been switched from the object to the background.
Step 4: Delete The Background
At this step, we are going to remove the background so that we can showcase the object on a transparent background. Our initial selection task is done already. So, you just need to press the delete key to remove the background.
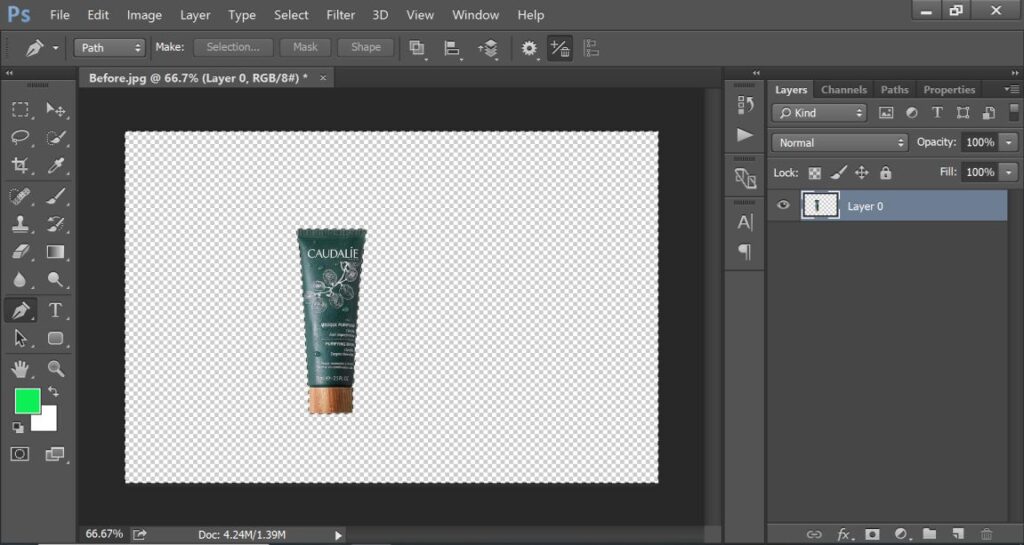
It will present the object on a transparent background as you can see in the above image. To hide the selection lines, you have to press CTRL + D. Now, there is nothing to distract viewers. We have to fix the position of the object. We can do it using the arrow key.
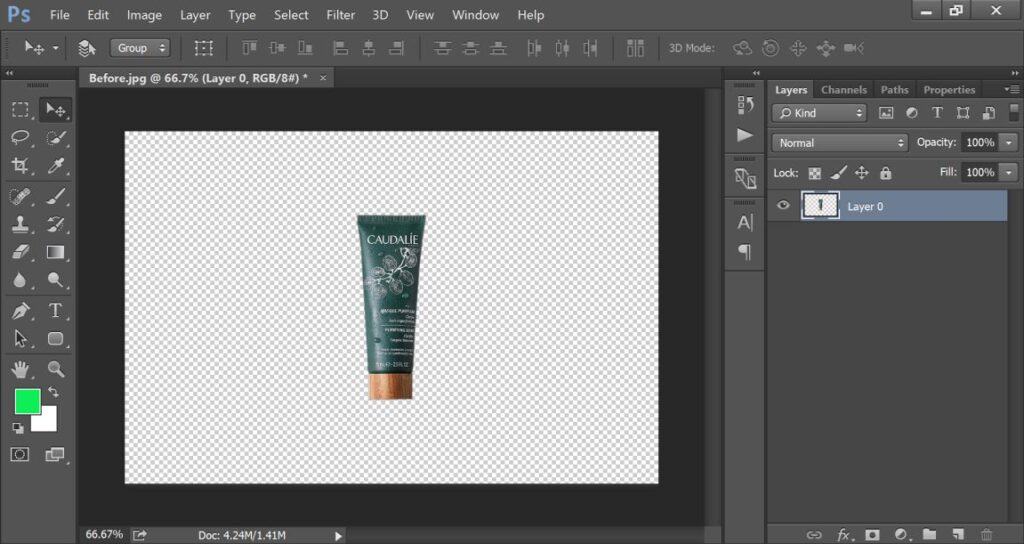
At the center position, the object looks pretty perfect. Now, the image is ready for saving.
Step 5: Save The Image
We can save the image from the File option. You need to click on the File option from the top-left corner and choose “Save As”.
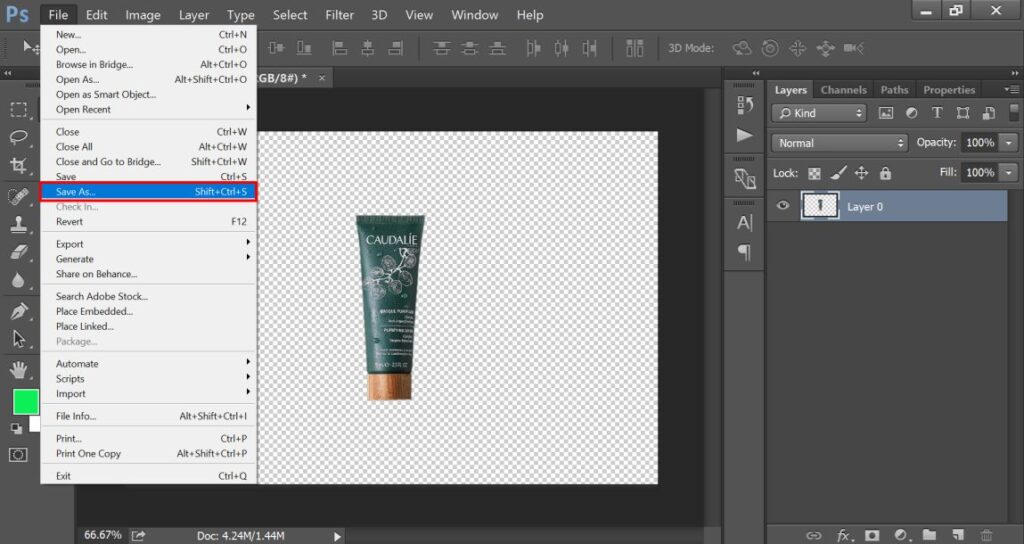
Next to that, you have to pick your preferred format to save the image. To keep the transparency alive, you have to choose the PNG format. If you save the image as JPG, it will make the background a solid white color.
This is the step-by-step process of deep etching technique. By following the above technique, you can deep etch an image in Photoshop. Would you like to enhance the accuracy of your deep etching technique? Here are some bonus tips for getting better deep etching results.
3 Bonus Tips
- Zoom in the image 300% to create paths more accurately with a better view of the object edges.
- Save your created paths from the path section so that you can work on it later on if required.
- Start creating deep etching from the below side so that you join the final anchor point conveniently.
3 Big Mistakes
- Do not start deep etching an object without zooming in on the image. It makes the selection inaccurate.
- Do not rely on straight lines when you are performing deep etching for a curve shape object.
- Do not complete path creation with a single path layer when there are too many holes and complex shapes.
Frequently Asked Question (FAQ’s)
Why do people use deep etching in Photoshop?
People use deep etching to make images more engaging and bring focus to targeted objects. Also, It allows the subject to be placed on different backgrounds.
How do I deep etch an image in Photoshop?
You can deep etch using the Pen Tool in Photoshop. You need to draw a path around the subject and then remove the background.
Can I deep etch any type of image in Photoshop?
Yes, you can deep etch any type of image in Photoshop with different shapes. The pen tool is suitable for selecting any type of object with the highest accuracy.
What’s the difference between deep etching and background removal?
When you deep etch, you create a precise selection around the subject. On the other hand, background removal removes the background in different ways.
What are the benefits of deep etching?
Deep etching can make your images look more professional and polished. It’s essential for tasks like product photography, graphic design, and creating advertising for products.
Do I need advanced Photoshop skills to deep etch?
To do it with high accuracy, you need to be a Photoshop expert. With practice and our above-mentioned process, you can learn how to deep etch in Photoshop.

